Keeping the Rain Out: How We Build Outdoor Heaters That Actually Last
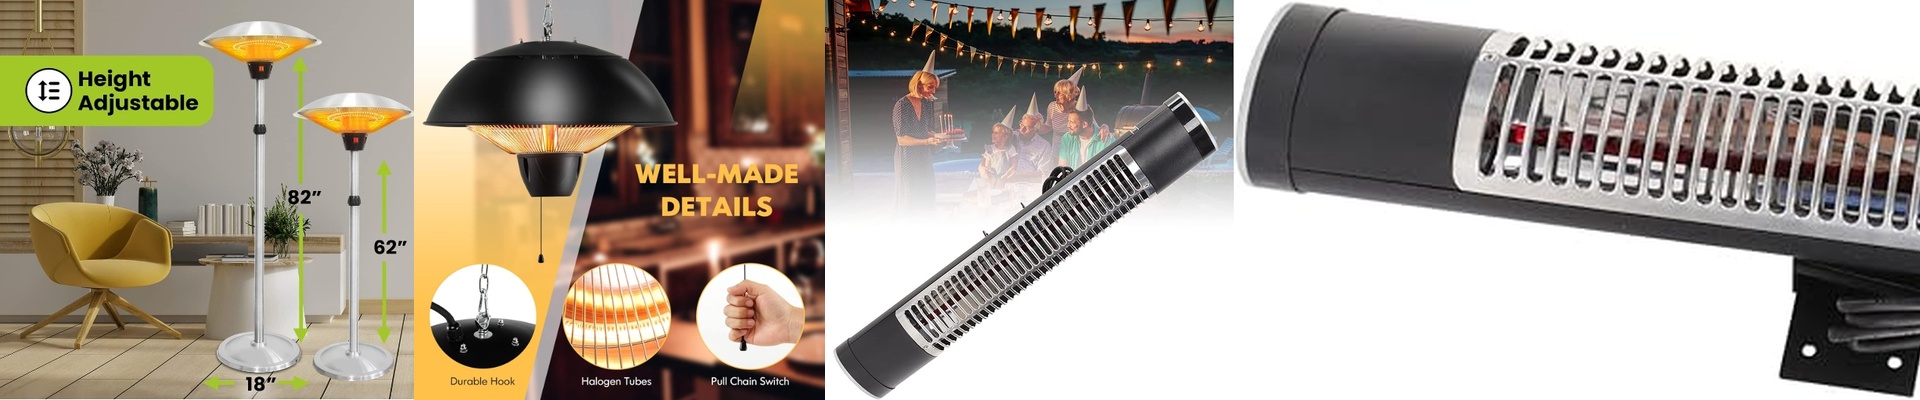
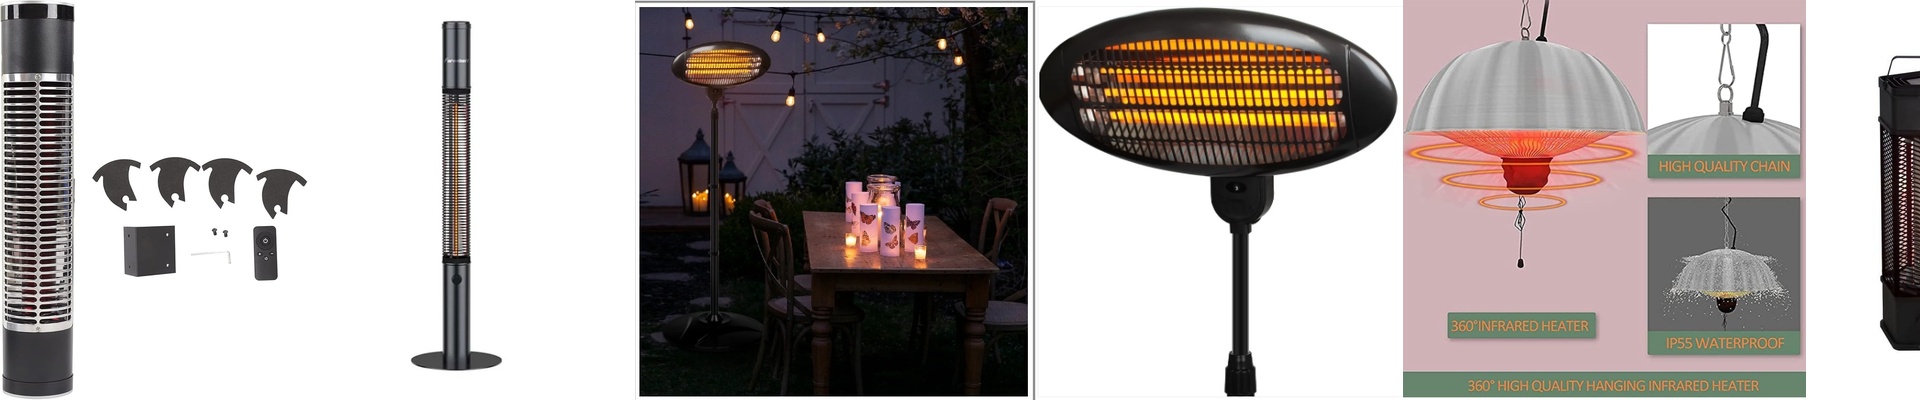
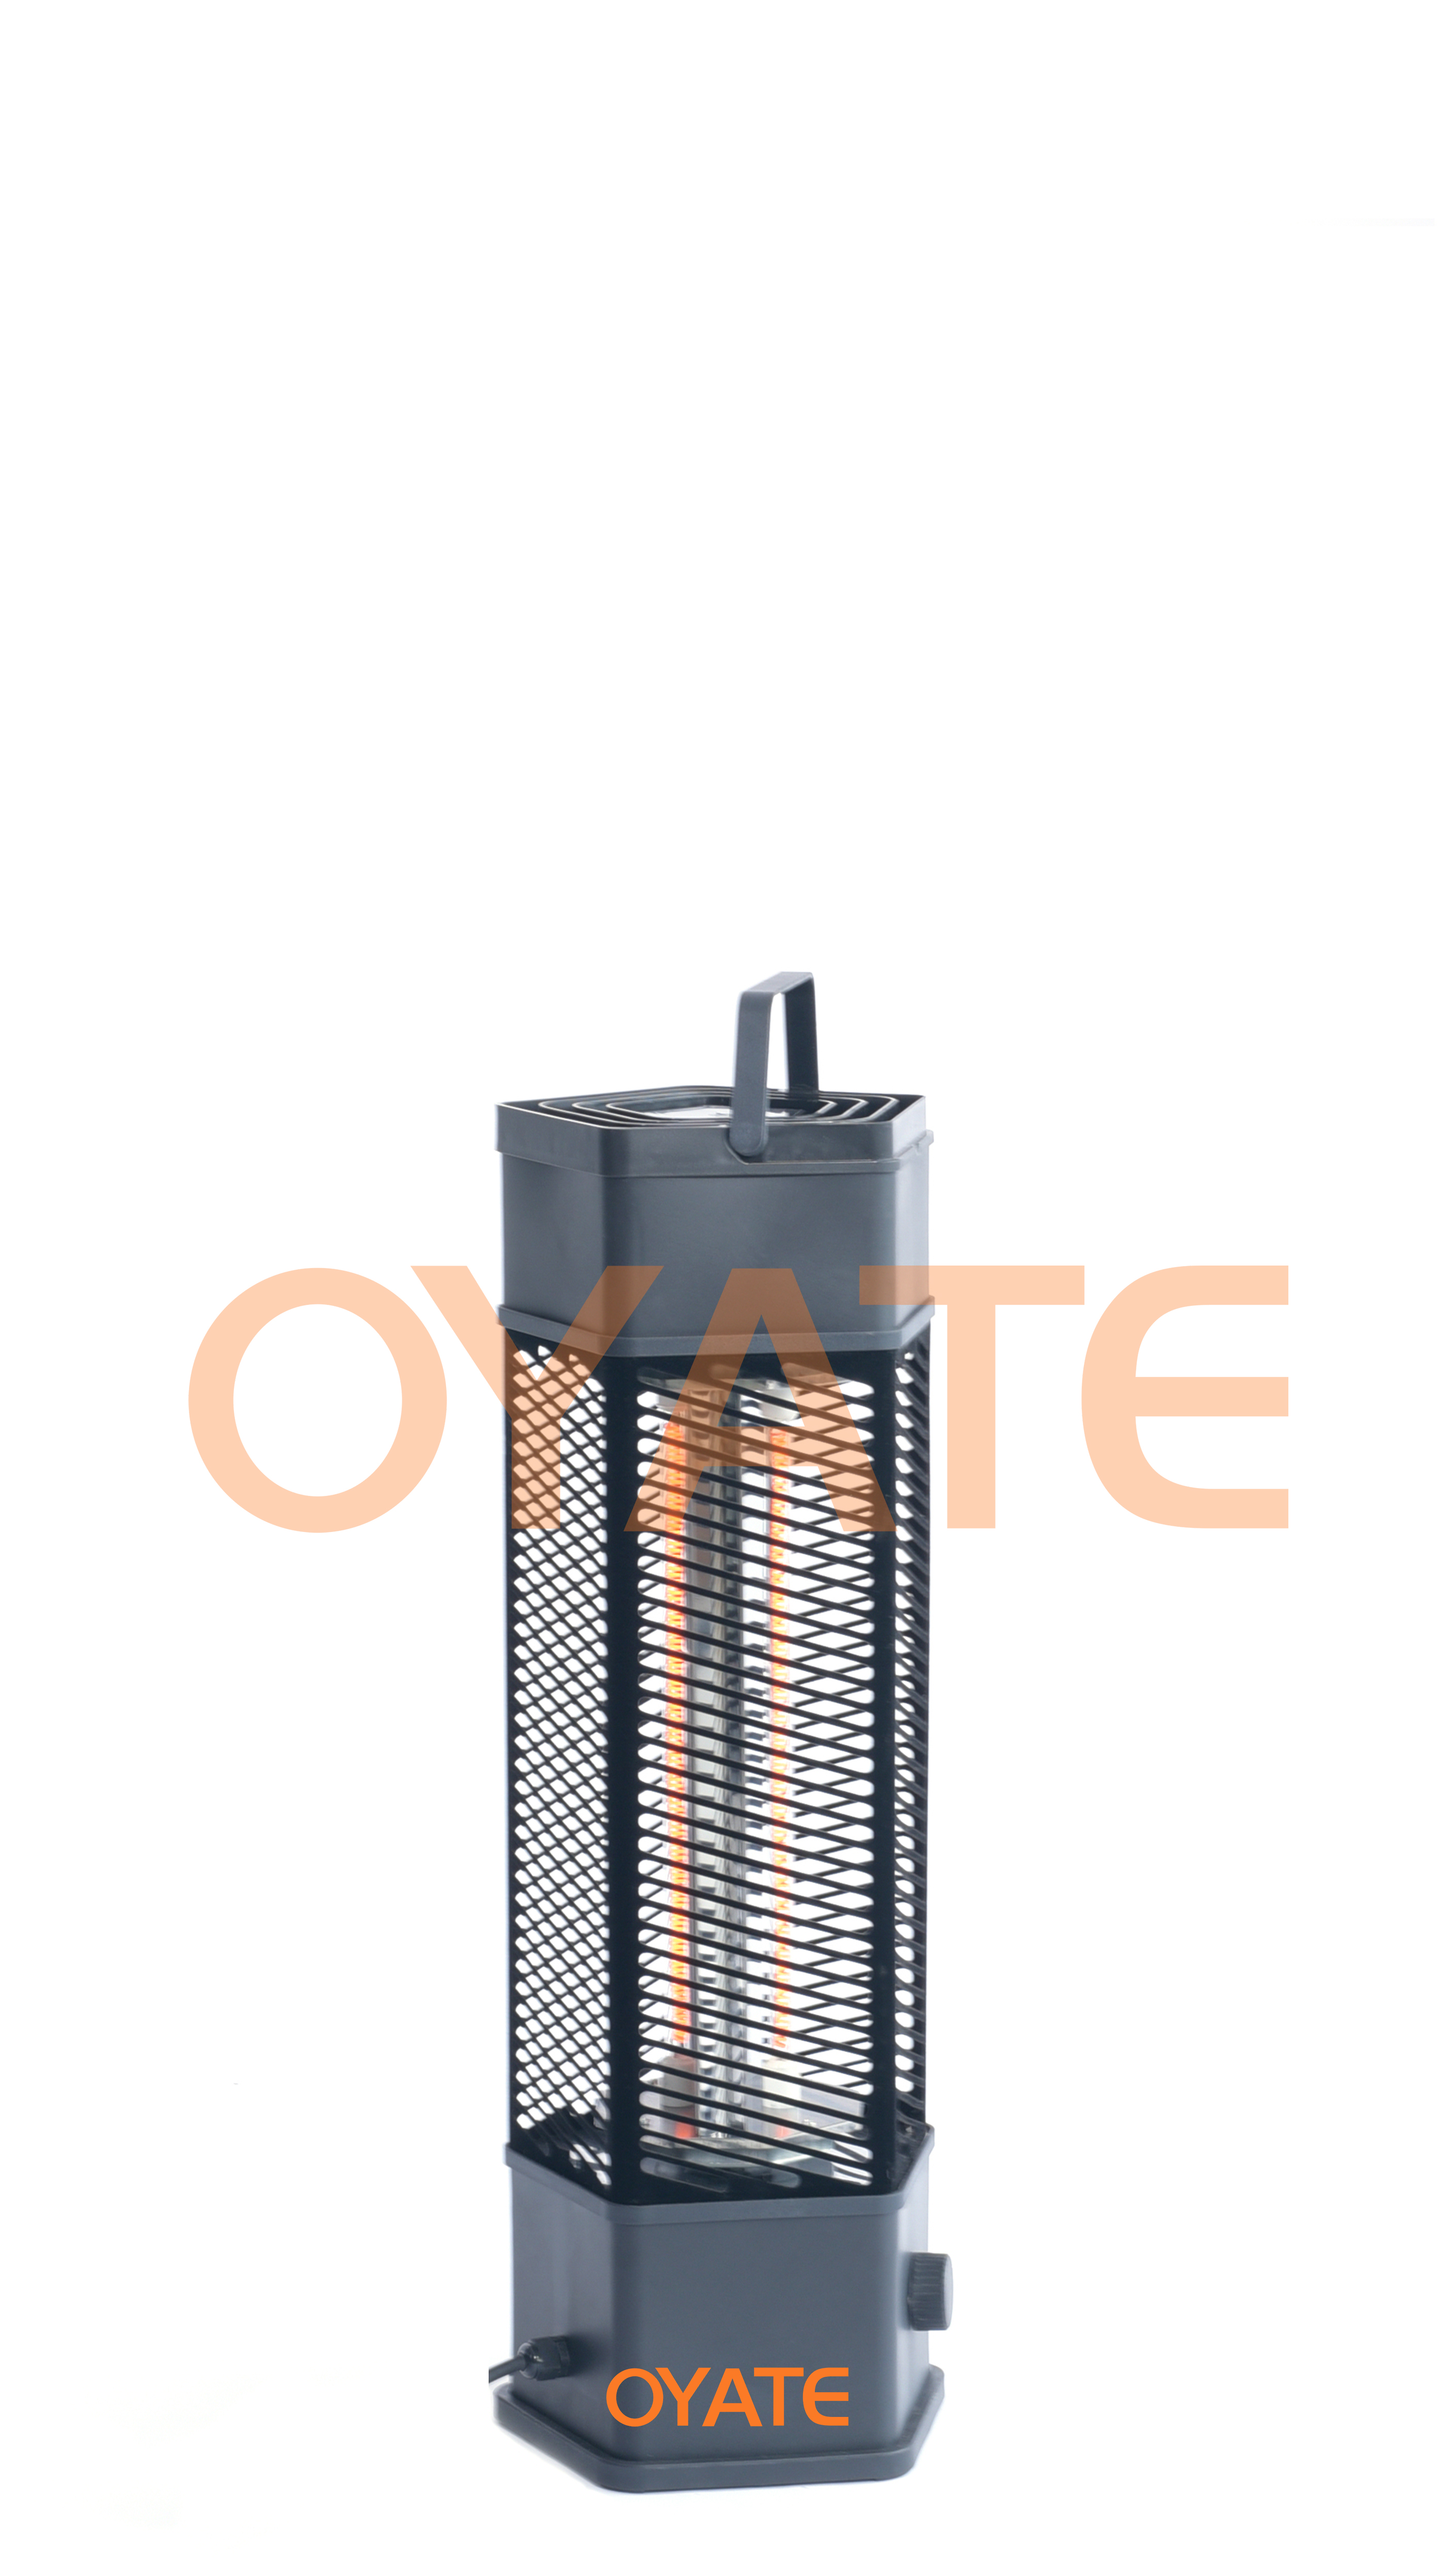
Let’s be honest: the outdoors is a nightmare for electronics. Between the humidity, the sudden downpours, and those wild temperature swings, most heaters just aren’t built to survive the elements. Usually, moisture sneaks into the electrical housing, and before you know it, you’ve got a short circuit or a dead filament. It’s frustrating. That’s why we obsess over the “splash-proof” side of things. Stopping the leaks Water is the number one killer of outdoor heaters. To fight this, we don’t just slap some tape on it. We use heavy-duty sealed gaskets and housings that are molded to a tight tolerance. The goal is simple: keep the water away from the heating elements and the wiring. When you isolate those connections, you stop the corrosion that usually eats through cheap terminals. It means your heater actually stays on, and you aren’t running to the breaker box every time there’s a heavy rain. The battle against fog Then there’s the condensation. You’ve seen it—that foggy buildup when a hot infrared emitter hits the freezing night air. It looks annoying, but it’s actually dangerous. If moisture settles on the quartz tube, it can cause “thermal shock.” In plain English? The glass cracks. To stop that, we built in specific venting paths and used special coatings. It keeps the vapor moving so it doesn’t settle on the parts that need to stay dry. The balancing act Here’s the tricky part. If you seal a heater too tightly, it can’t breathe. It traps the heat inside the chassis and basically cooks itself. To fix this, we balance those waterproof seals with strategic drainage points. But there’s a catch:you have to mount the unit the right way. Gravity is our friend here. If you install the heater upside down, you’re basically creating a bucket that traps water right inside the housing. That’s a fast track to killing your heater’s lifespan. Just follow the mounting guide, and you’re golden.